This winter I had a project. I wanted to design and build the ultimate charging box and battery storage for my needs. This is what I ended up building.
I settled on a three part solution.
Part 1 Charging Box
- Hold 1x powersupply, 2x PowerLab PL8’s and 2x MPA 6 balance boards
- Make my PL8’s and balance boards conveniently accessible.
- Hold my batteries conveniently for charging
- Store my batteries
- Show the charge status of each battery ( Charged, Flown, Balanced)
- Run off AC or Battery at the airfield easily
- Help get everything out to the airfield from my car easier
Part 2 Battery Caddie
- Easily carry just my batteries to the air field
- Keep my batteries organized and keep track of their charge status.
- Carry some tools
Part 3 Battery Storage
- Must be easily transferred from the Charging Box to the Battery Caddie
- Keep track of the battery charge status
- Have an integrated platform to present batteries for use and to charge
This was a winter project for me and I took my time with it and iterated quite a bit. I started out mostly working on the dimensions, features, overall design and used a bunch of metal hardware that screwed together. Then as I got into wood working more there was a transition away from metal hardware and screws to wood structure and glue.
Starting from the early prototypes I was trying to get convenient access for 2x PL8’s and 2x MPA boards and battery storage. Here you can see the battery storage clipped on.
I wanted a way to support the batteries when charging from both balance boards. Using aluminum clips to hold the battery charging trays in place.
It was going to be heavy enough with PS, Chargers, Balance boards, and especially batteries that it needed a strong frame with wheels and a luggage handle.
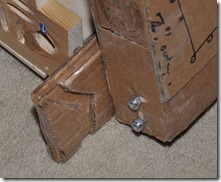
I did a lot of prototyping with cardboard because it was fast. Below are the cardboard folding charging wings and the next version of battery storage which used a removable 1” dowel hinge.
Then the cardboard was replaced with wood, metal hinges and lexan. The battery storage had to fold up to stow. The wiring was also coming along.
A hinged lexan window for the batteries was added and some front facial.
Of course it needed a cell phone charger on it ![]()
Then the ability to charge with Deep Cycle Batteries was added. This Power supply allows for DC Voltage across the output terminals. This is not always the case.
The aesthetics changed over time. Red and Black CF look vinyl seemed like a good way to clean things up quickly.
There was a little space between the top balance board and the power supply. Perfect space for a tool storage area ![]()
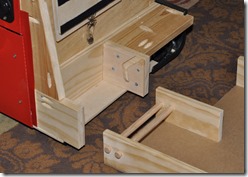
The battery storage still seemed too complex. requiring a removable dowel and a cord to keep it from laying flat. So the next step was adding slots and pegs to hold the battery storage in place. This way it could just slide into place supported at an angle and then able to slide to upright.
The charging tower was finally nearly fully functional.
It got it’s first field test and worked well, but came home with very muddy wheels and no good way for me to bring it in the house without lots of cleaning effort. That lead to the bottom becoming removable for easy cleaning.
This is when my project went from prototyping functionality to woodworking and learning the basic skills needed to construct something a bit more finished looking. The project was on hold while I tooled up my shop and learned how to use my new tools. I built a mobile tool bench / gluing table because of limited space. The right picture is my entire shop compressed into a space in front of where my wife parks her car.
Now I could cut with accuracy and do things I was ill equipped to do earlier like making wooden hinges.
So now I could remove all the ugly pop riveted metal hinges and use something much prettier to look at.
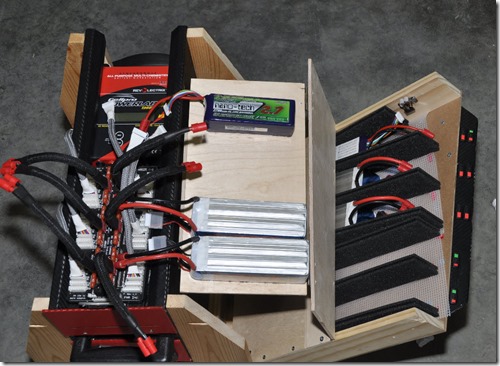
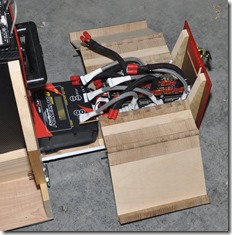
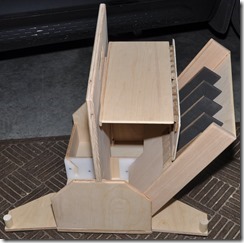
Another design change. The battery storage hinged doors would double as the battery charging platform. This had the added benefit of them serving as a nice platform to put your batteries on while flying. Prototyped with metal hinges.
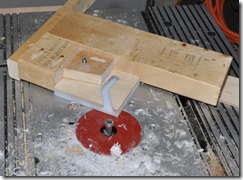
Then it was time to upgrade the Battery storage slots and pegs to something more durable, UHMW and aluminum. First a little tooling to make sure all the slots were uniform as 8 total were needed.
Now things were starting to look prettier.
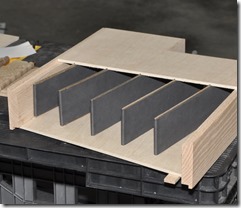
With precise cutting the battery storage became cleaner looking to and much stronger with 1/8” hardboard dividers glued into place with 1/8” neoprene cushioning for the batteries.
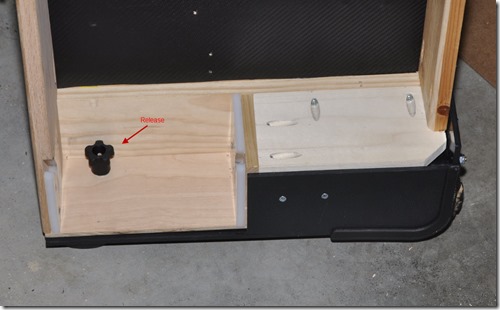
Then it was time to work on the removable base out of 1/4” ABS. Using a band saw holes were cut for the wheels and then using a heat gun and a 1” dowel a bend needed to be made.
The release mechanism was very simple. A bolt and knob would release it and let the base slide off to be hosed down separate from the wood and electronics.
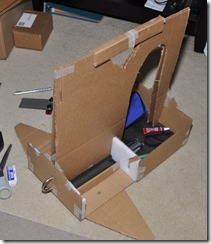
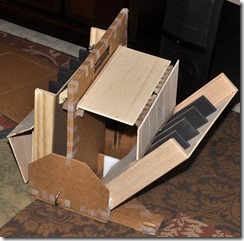
Next I jumped ship to the battery caddie which is the lighter weight battery storage system that would accompany me to the airfield most of the time. Once again prototyping in cardboard. This is where the interchangeable battery storage units start to make more sense.
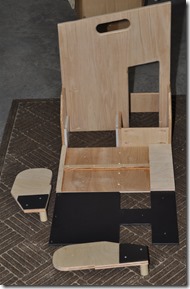
The battery caddie went together very quickly and it was time to learn about finishing wood.
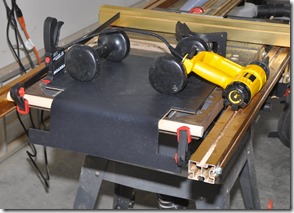
It was now time to build up the left battery storage unit and as you can see you can never have enough clamps.
Now the battery caddy had a full complement of battery storage!
Battery storage is finally finished and so is the Battery Caddie
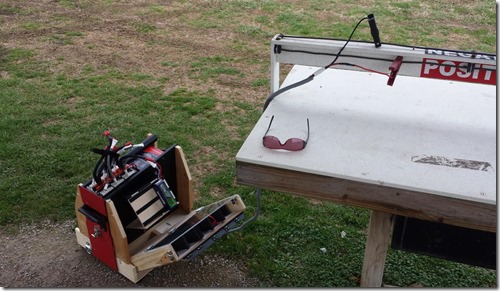
Time for a field test! The battery caddie worked perfectly at the airfield and I had no issues with it.
Now back to the Charging tower. At this point the bar had been raised and it was time to tear the tower apart to rebuild it properly with what I had learned since starting this project. Luckily it is quite modular and removing the center tower is easy.
The tower which shell which had been drilled over and over again was ready for replacement.
With the wood finishing so far, putting a plastic mesh in the back for cooling didn’t seem adequate, so I drilled 1/2” vent holes for the power supply and top Power Lab 8.
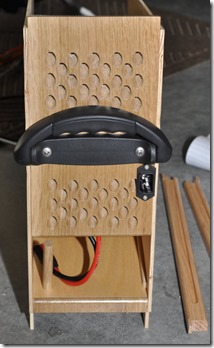
The back of the charging tower with Battery cable storage, powersupply vent and place for the rear AC outlet and handle to attach.
The front fascia.
Test fit the new tower.
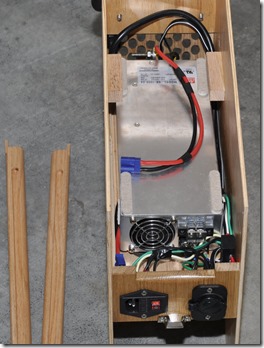
Final wiring
And done setting in my office.
In use before a day at the airfield.
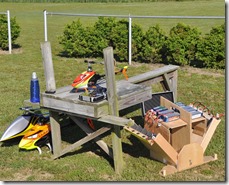
At the air field running of a 2kW generator.
Running off deep cycle batteries.
Finally here is a Video walking through how it all works.


















0 Responses to “Building the Ultimate RC Charging box / Battery Caddie”